Welcome!
Are you a Powerbuilder engineer and you absolutely don't know what all this craziness about Javascript frameworks is all about?
Are you a C++ dev and you want to experiment a hot-reload UI developing experience but you absolutely have no clue about what Node.js or Vue are?
Well, no panic! In this tutorial you're going to learn what Restboard is, when it could be useful for your projects and how to start one from scratch based on it.
DISCLAIMER: along the tutorial you'll find a lot of links to learn the basics to successfully bootstrap a modern web UI for your existing API (if you don't have one yet, we're going to use a reference fake API during this tutorial).
Get some REST
Restboard is a toolkit to quickly bootstrap a fully functional UI for an existing (REST) API.
But wait: what REST means, after all?
REST stands for REpresentational State Transfer, a concept introduced and defined by Roy Fielding in 2000. Basically, it represents an architectural style to design and implement software systems on the Web.
Let's see how Wikipedia describe this architecture:
[...] A server will respond with the representation of a resource (today, it will most often be an HTML, XML or JSON document) and that resource will contain hypermedia links that can be followed to make the state of the system change. Any such request will in turn receive the representation of a resource, and so on.
From a very practical point of view, a REST API is usually designed as a set of HTTP endpoints returning or updating the representation of one or more instances of a resource.
A resource is whatever makes sense in the domain of your software system, such as a user, a product, an order and so on.
All the endpoints are defined by an HTTP verb (one between GET, POST, PATCH,
PUT and DELETE) and a path describing the resource involved. For example:
POST /productswill probably define an endpoint to create / add a new product to your systemGET /products/123will probably define an endpoint to get the representation of the product identified by123.
Ok, enough as a brief introduction to REST API. Now let's start something more fun!
VSCode: the perfect match (but not the only one)
First things first: we need a good dev environment to start our new project. If you come from other software stacks and languages, probably you're already using an IDE in your daily job.
We're now going to see how to install and configure Microsoft VSCode for this. Using VSCode is not mandatory, but recommended as the de-facto standard for this kind of technologies.
To install VSCode on you system, please follow the instructions on the official documentation website
VSCode has a very modular and extensible architecture and tons of extensions and plugins are available for almost anything you need during the development.
The following is a minimal list of suggested extensions to work on a project based on Restboard:
- Auto Close Tag
- Auto Rename Tag
- EditorConfig for VSCode
- ESLint
- GitLens
- npm Intellisense
- Prettier - Code formatter
- Vue - Official
Now that we have a working IDE, let's install our tech stack!
Javascript and friends
Restboard is based on several layers, as represented in the following schema:

Both Quasar and Vue are Javascript libraries. If you don't know what Javascript is, well, let's say that is the main (even if not the only one anymore) native language interpreted by most of Web browsers on the market.
To learn more about Javascript you can follow this guide by Mozilla
Historically, Javascript has been a client-side language, means it was created to run in the browser on the final user machine.
In 2009, Ryan Dahl, created a new project, called Node.js, consisting in a working Javascript runtime running outside a browser environment, such a server. Node.js opened the door to start using Javascript to also develop server-side code (such REST APIs) and development tools. The Node.js ecosystem includes also a package manager called npm (originally an acronym for Node Package Manager).
Nowadays, Node.js is a perfect environment to execute a local development web server and all the utilities to work with Javascript frameworks before releasing them to the public Web.
To install Node.js on your system, please follow the official documentation
After completing the installation process you should be able to run a terminal and query for the version of your Node.js and npm installations:
$ node -v
$ npm -v
If everything is ok, you should now have a fully working development environment to finally start a Restboard project.
Let's move on!
Ignition
Let's consider again the stack behind Restboard:
- Technically speaking, Restboard is an extension for Quasar Framework
- Quasar is a Vue-based framework.
- Vue.js is a Javascript reactive rendering library.
So, to fully use Restboard, we first need to get a working toolchain for Quasar and Vue.
Lucky, Vue will be automatically installed and configured by Quasar itself, leaving us with the only job of initializing Quasar as a pre-requisite for Restboard.
You can learn more about Vue.js following their interactive official tutorial
Let's first install the Quasar CLI (Command-Line Interface) using npm:
$ npm install --global @quasar/cli

# or:

$ npm i -g @quasar/cli
The --global flag will tell npm to install the CLI globally to your machine,
so you can utilize it for all your Quasar projects without the need to install it
locally for every one of them.
Now we can finally bootstrap our project:
$ npm init quasar
This will open a wizard to create a brand new Quasar project. You should answer a couple of questions and make decisions about which kind of components to include in your project:
✔ What would you like to build? › App with Quasar CLI, let's go!
✔ Project folder: … quasar-project
✔ Pick Quasar version: › Quasar v2 (Vue 3 | latest and greatest)
✔ Pick script type: › Javascript
✔ Pick Quasar App CLI variant: › Quasar App CLI with Vite
✔ Package name: … quasar-project
✔ Project product name: (must start with letter if building mobile apps) … Quasar App
✔ Project description: … A Quasar Project
✔ Author: … Your Name <your@email.domain>
✔ Pick your CSS preprocessor: › Sass with SCSS syntax
✔ Check the features needed for your project: › ESLint, Vue-i18n
✔ Pick an ESLint preset: › Prettier
✔ Install project dependencies? (recommended) › Yes, use npm
Let's confirm the defaults for this project and let the CLI to complete the project initialization process. When everything has bee set up, you should see the following message:
To get started:

  cd quasar-project
  quasar dev # or: yarn quasar dev # or: npx quasar dev

Documentation can be found at: https://v2.quasar.dev

[...]

Enjoy! - Quasar Team
If you open the folder /quasar-project in VSCode you should see the following
project structure:
quasar-project
- .quasar
- .vscode
- node_modules
- public
- src
-- assets
-- boot
--- i18n.js
-- components
-- css
-- i18n
-- layouts
-- pages
-- router
Now let's run our new Quasar project with:
$ cd quasar-project
$ quasar dev
The quasar dev command will build all our assets and then will execute a local
development server to serve them on a local domain and port, printed by the
previous command:
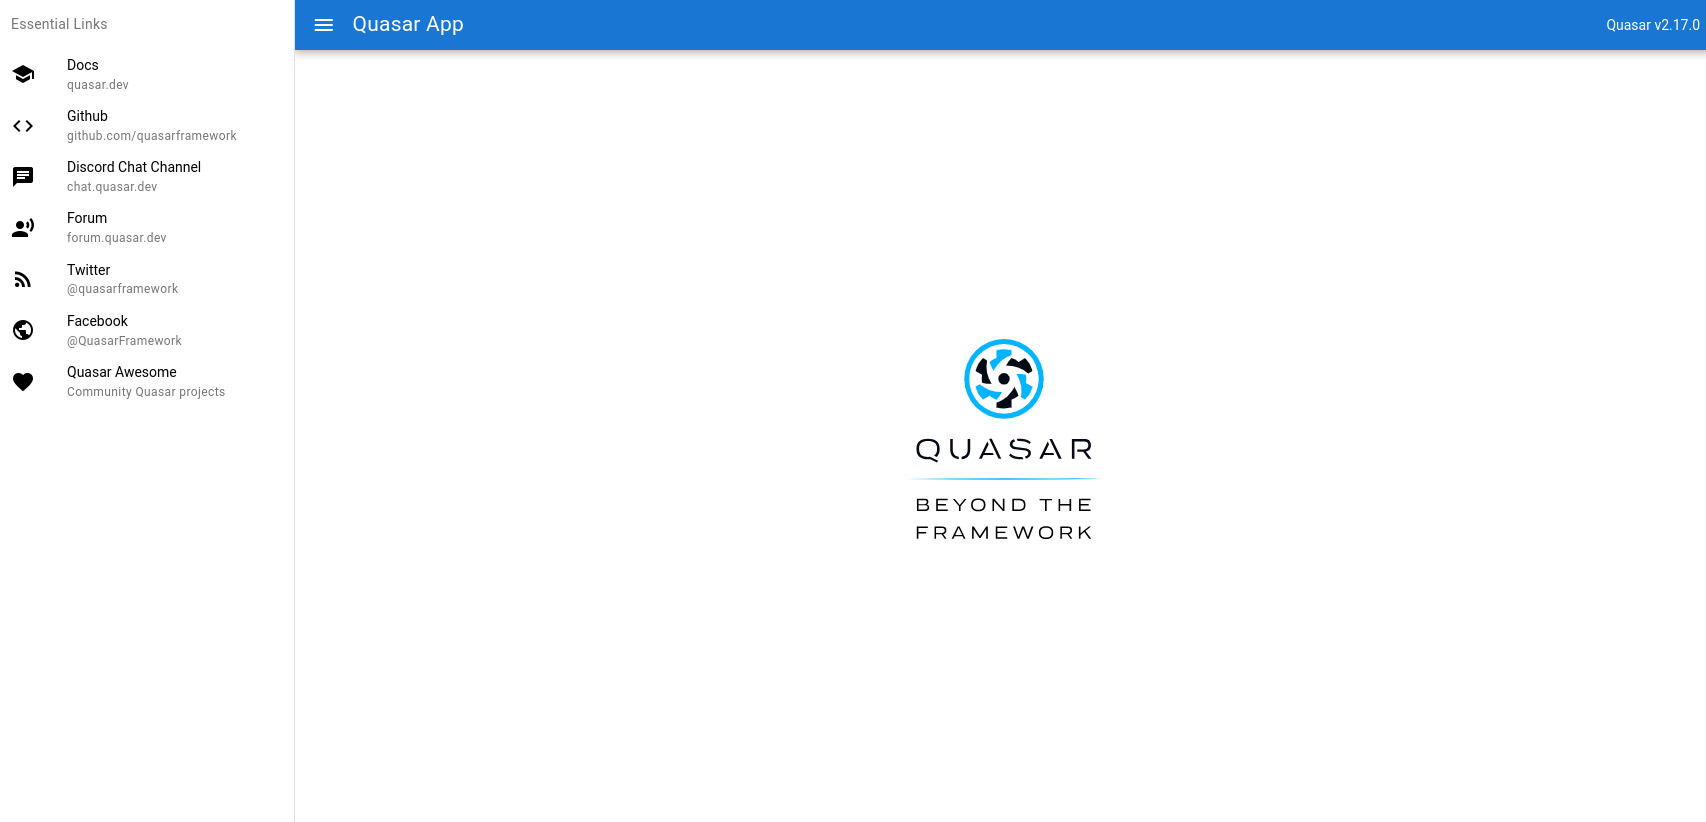
App • Opening default browser at http://localhost:9000/
Great! Your first Quasar project is up and running!
A Restboard touch
While Quasar Framework offers ton of features used in a common Vue-based project, it doesn't provide a standard way to communicate with an external API. The Javascript ecosystem offers many solutions, from very low-level HTTP client libraries such as Fetch and Axios to more high-level tools.
The problem is that usually there is a lot of boilerplate code to write in order to call the APIs, get the result, parse it to make it usable by your UI components, rendering it inside the components, repeat it again and again.
Restboard aims to provide a standard way to interact with remote resources, including a set of ready-to-use UI components to handle the actual fetching and parsing of the data.
The interaction pattern is designed around the concepts of Resources and Providers:
- Resources basically map the backend resources and provide a standard CRUD API to interact with them.
- Each resource uses a Data Provider to translate requests to the protocol and details of the backend API.
- The Auth Provider provides an abstraction over authentication and authorization details.

To add Restboard to our existing Quasar codebase, we just need to execute a single command from the root folder of our project:
$ quasar ext add restboard
A new wizard will guide you to install Restboard into your existing Quasar project. It will ask you to confirm the inclusion of example resources and providers, together with the replacement of the default Quasar theme.
? Include example resources and providers Yes
? Overwrite "src/css/quasar.variables.scss"? Overwrite all
? Overwrite "src/providers/auth.js"? Overwrite all
You're free to start clear, but for this tutorial let's answer positively to all questions.
The installation process will add to the project some new files and folders:
quasar-project
- src
-- boot
--- rb.js # This is the extension boot file: it is responsible to register all the Restboard new stuff
-- config # This folder contains all configuration files
-- mixins # This folder contains some reusable logic for components (e.g. form handling)
-- providers # This folder contains all available data and auth providers
-- resources # This folder contains all available resources
Good! Now let's start the development web server again and check what's changed at the UI level.
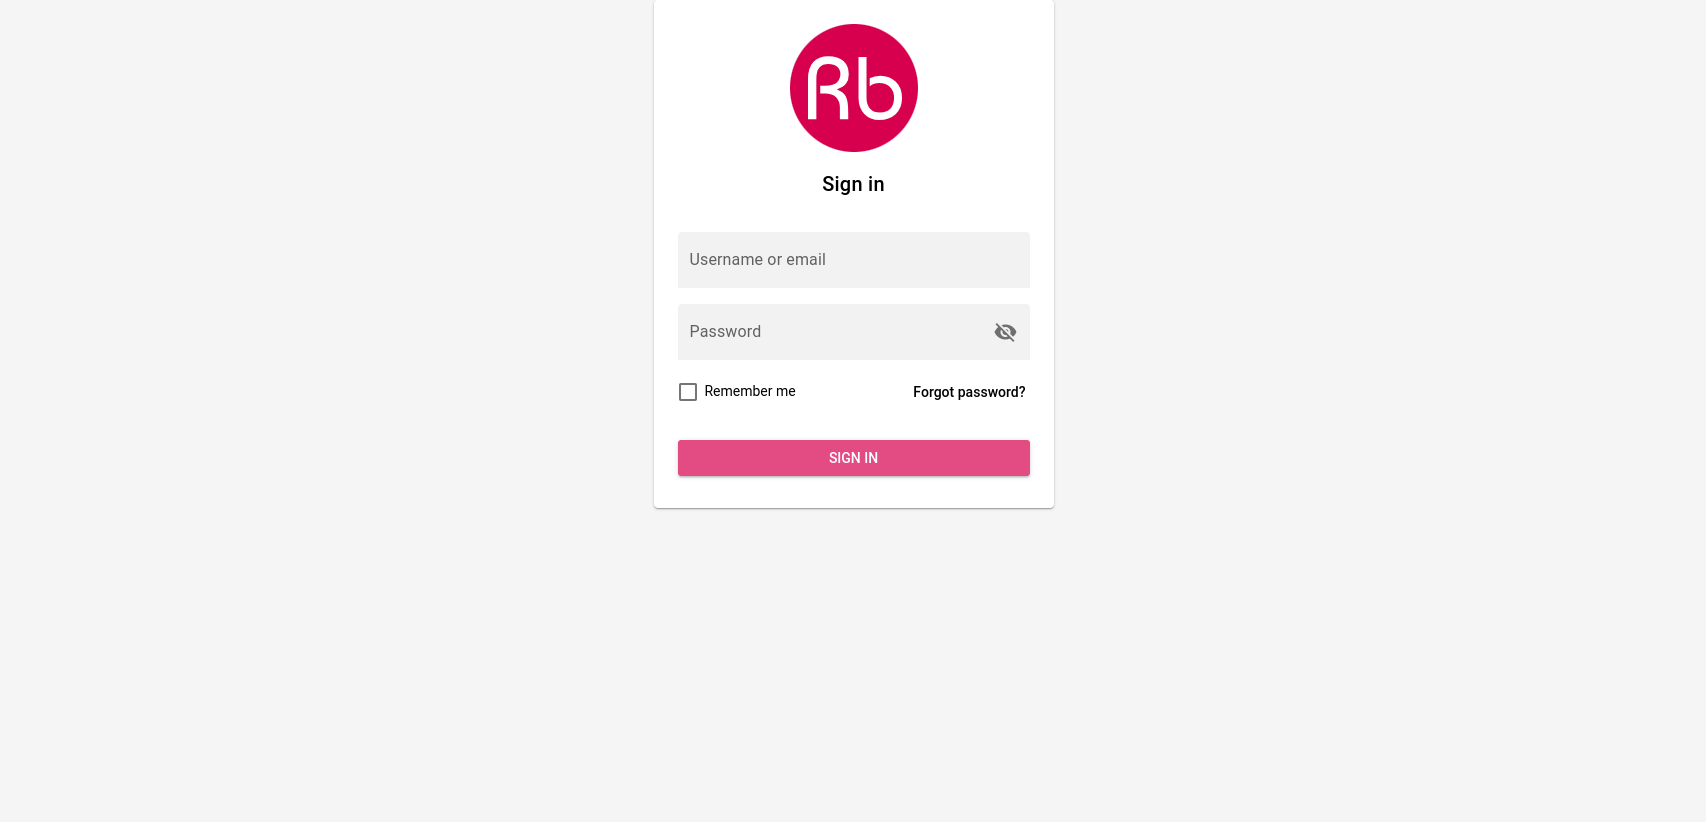
As you can see, the default Quasar reference screen has been replaced by a fully functional login form. You can successfully authenticating using random username and password and clicking to "Sign in".
The reference, fake auth provider will mock the real call to an authentication
backend allowing you to pass the gate and enter the application.
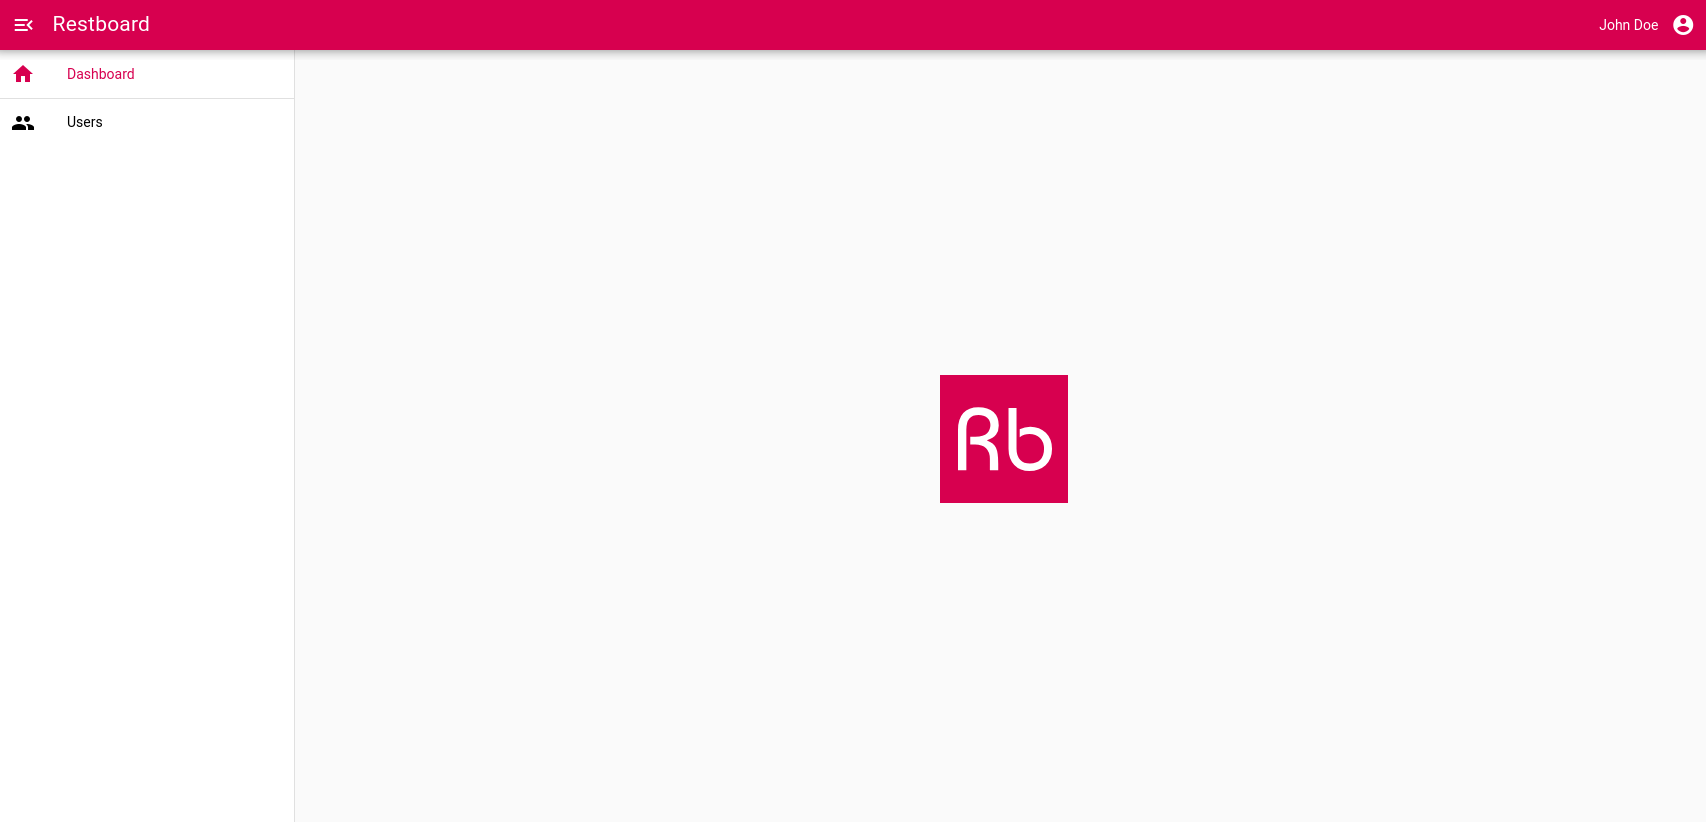
You can change this behavior simply removing the mock and defining the real
authentication endpoint to be called by the auth provider inside /providers/auth.js.
import createProvider from 'rb-auth-provider-simple'

export default createProvider('http://localhost:3000/auth/login', {
  ...
})
If you click on the "Users" link in the side menu, you will be redirected to a fully working master / detail view of your application users:

At this point you may ask from where these users come from. The answer can be
found looking first at /providers/data.js.
import createProvider from 'rb-data-provider-json-server'

export default createProvider('https://jsonplaceholder.typicode.com', {
  ...
})
As you can see the default data provider with chose to include in the project is already configured to interact with the {JSON} Placeholder Fake API.
If you now look at /resources/users.js you will find that specific resource
is using that specific data provider to interact with the remote /users API
resource.
import { createResource } from "rb-core-module";
...
import { dataProvider } from "../providers";

export default createResource({
  name: "users",
  provider: dataProvider,
  ...
});
Adding resources
Let's say you want to add a new resource to your application. Let's imagine we
want to interact with the remote /posts API resource.
Restboard provides its own CLI to quickly adding new resources to your project. Of course, you can also do it by hand, but using the CLI will be easier and quicker:
$ npx restboard create:resource posts
Resource succesfully created at src/resources/posts.js
Remember to include it to src/resources/index.js
Please, note an abbreviated form is also available:
npx rb c:r <resource_name>
As you can see the CLI created a new posts.js resource under /src/resources
but we need to register it into the /src/resources/index.js file:
import users from './users'
import posts from './posts'

export default {
  users,
  posts
}
If we go back to our UI, a new entry will appear in the sidebar and clicking on it will show already a list of fetched posts...well, quite actually.
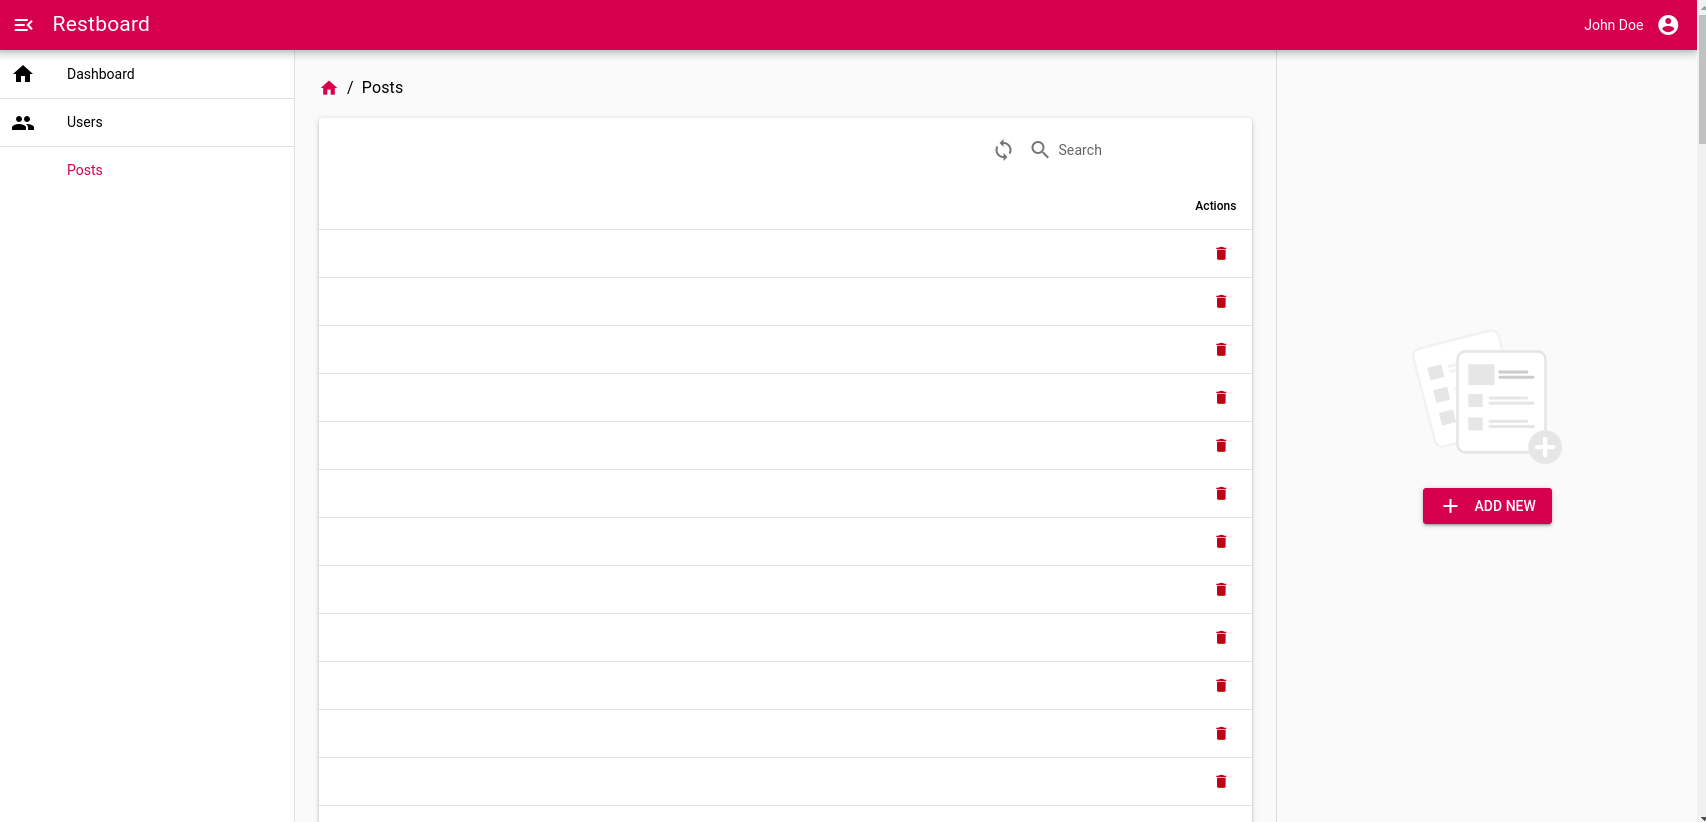
Restboard uses a declarative way to define how remote API resources should be handled by the application, even how they should be rendered in the UI. The issue here is that we didn't provide a declaration of such rules yet.
Let's fix it!
Open the file /src/resources/posts.js and fill it with this code:
import { createResource } from "rb-core-module";
import { dataProvider } from "../providers";

export default createResource({
  name: "posts",
  provider: dataProvider,
  displayAttr: "title",
  actions: {
    delete: {
      icon: "delete",
      class: "text-negative",
      isVisible(item) {
        return !!this.getKey(item);
      },
      async run(item) {
        this.deleteOne(this.getKey(item));
      },
    },
  },
  ui: {
    icon: "description",
    columns: [
      {
        name: "id",
        sortable: true,
      },
      {
        name: "title",
        sortable: true,
      },
    ],
  },
});
Looking back the UI and you will see an icon has been added in the sidebar menu
for the Posts entry and its page now looks more useful:
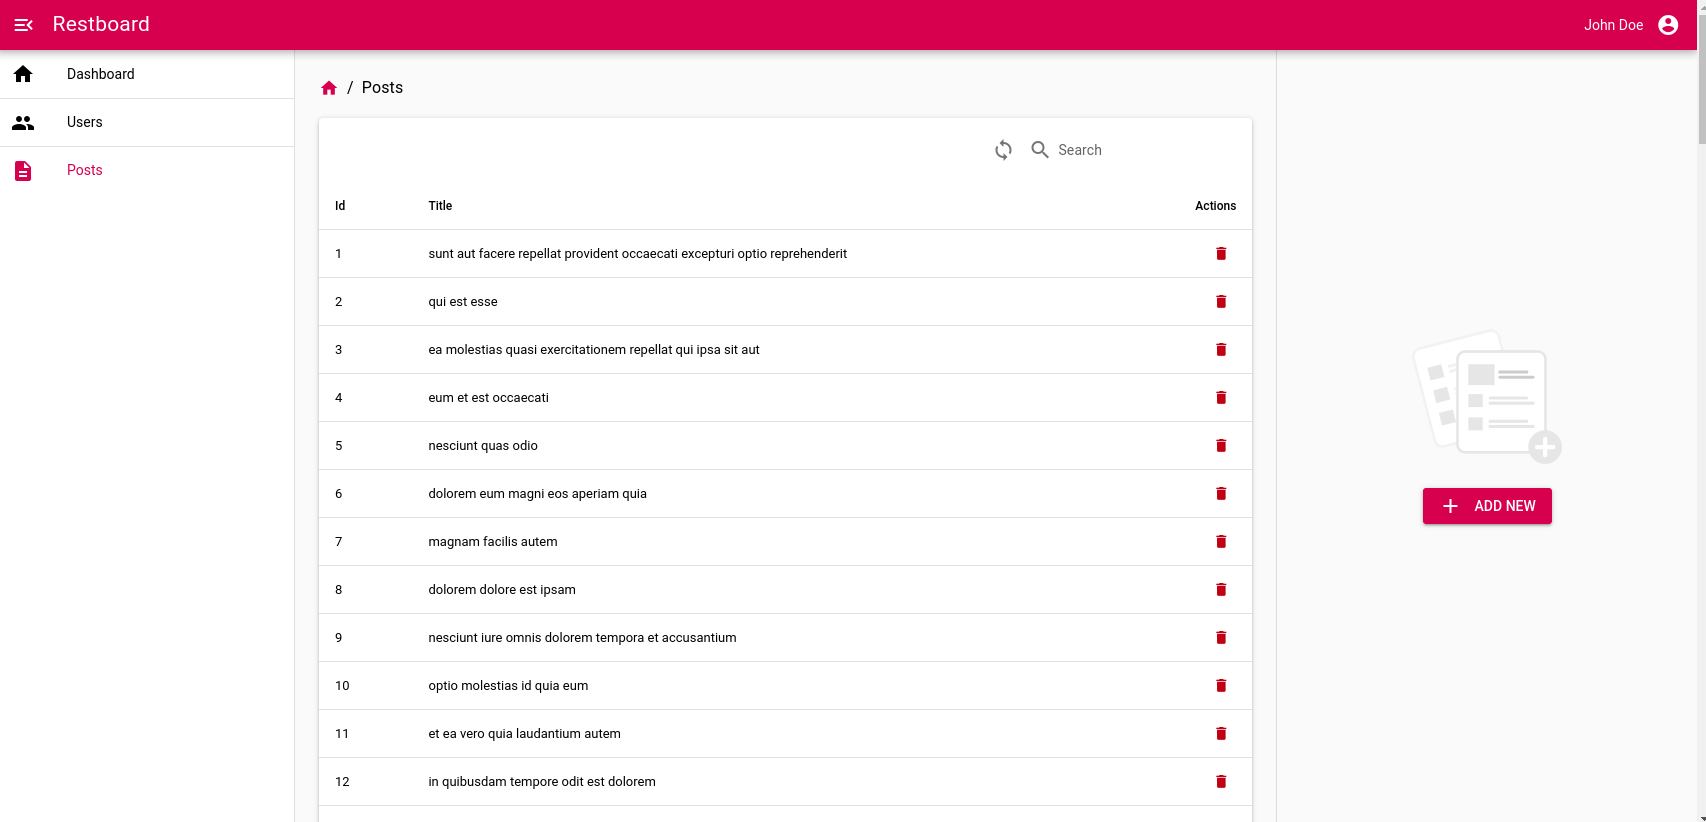
As you can see the UI adapts itself based on the configuration declared by the resource. All the configuration attributes are documented here.
Having good relationships
Let's say we now would like to fetch only posts created by a specific user.
A first way to do it is just to pass a user filter when we request the posts list. If we're just using resources programmatically, we could type:
// Using a JSON data provider will generate a request like:
// GET /posts?userId=3
const results = await this.$rb.posts.getMany({
  userId: 3
});
Another way, supported by Restboard, is to use relationships. Let's assume the REST API provides the following endpoint:
GET /users/:userId/posts
We can invoke it defining a relationship between users and posts resources:
const userPosts = this.$rb.users.getRelation(3, this.$rb.posts);
const results = await userPosts.getMany();
Both approaches are perfectly valid and supported, so it's really up to you!
Building blocks
The Restboard ecosystem is composed by several layers: some of them are quite
ubiquitous and can work both client and server side (e.g. rb-core-module),
while others are very UI specific (e.g. quasar-app-extension-rb-ui).
You can find an overview about the packages composing the Restboard ecosystem and how they interact each other in the following picture:

The quasar-app-extension-rb-ui package extends Quasar with a set of
resource-oriented reactive components. It exposes two kinds of components:
- Dumb (or presentational) components: they are responsible to show something on the screen receiving data as props. They don't fetch any API directly.
- Smart (or container) components: they are responsible to fetch or to send data from or to the API but they delegate rendering to a dumb component.
Example of dumb components are RbDataTable, RbSelect
and so on.
Example of smart components are RbResourceCollection, RbResourceInstance
and so on.
Together they form the UI building blocks for you application.
Let's take a deeper look to the posts table we added to the project. The template code for a simplified version of that page looks something like this:
<template>
  <q-page>
    <rb-data-collection :resource="$rb.posts" v-props="props">
      <rb-data-table :columns="$rb.posts.ui.columns" :rows="props.items"/>
    </rb-data-collection>
  </q-page>
</template>

<script>
export default {
  name: 'PostsPage'
}
</script>
In this code fragment it's very clear how smart and dumb component interact: the smart component receives the resource and interact with its API based on the resource declaration. When data has been fetched, it's passed down to the dumb component which is responsible for rendering it.
This implies that you can switch resource, keeping all the rest the same, to simply transform a "Posts table" to a "Users table" or "Products table". At the same time, you can keep the same smart component but switching to a different representation of the data (e.g a grid instead of a table) changing the dumb component.
Final words
Congratulations! You completed this introduction to Restboard. You can find more details in the reference page of each package: